2.2. Creating the Project
After giving us a registered user microhomelan.net and access the control panel, the first step is to create a project, New project by clicking the icon displays a dialog box which indicates a name for the project and a description .
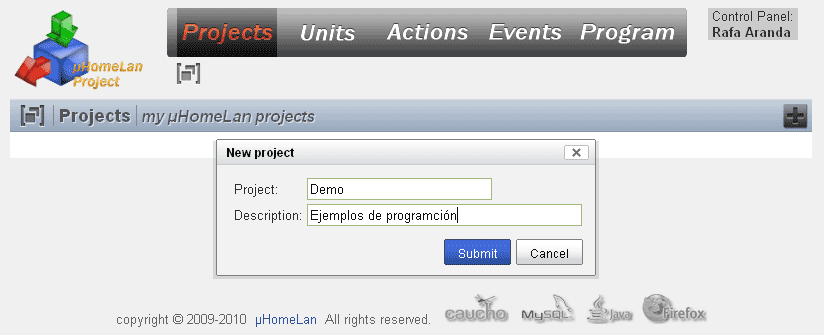
Create a new project
Before you can work with the project be established as an active project. Clicking on the name of the project (in our case Demo), it is set as active, appearing under the navigation buttons.
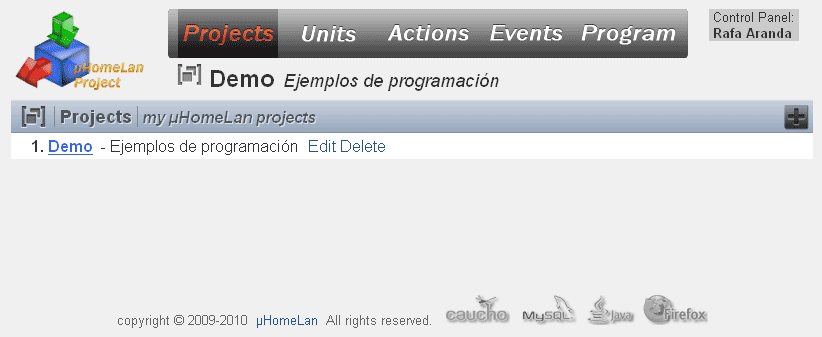
Select the active project
Form the network core automation
Units are made by accessing the network configuration automation. Clicking on the icon New unit can select and add plants to form the network necessary uHomeLan. In the New unit will have to indicate the following parameters:
- Unit. Central selected automation.
- Network address. Network address of the plant, this has to be between 1 and 200, the rest to 254 are reserved. If you enter an incorrect value or other central match, it will fail and will not be allowed to add the plant until it indicates a network address free.
- Name / Location. It indicates a name to distinguish or recognize this plant from the others. The name may refer to an appropriate nomenclature identifying the place called, department or section that controls etc. whatever is arbitrary and does not affect the schedule, only to recognize the drive.
- Description. Description of the plant, location, purpose, elements that control.
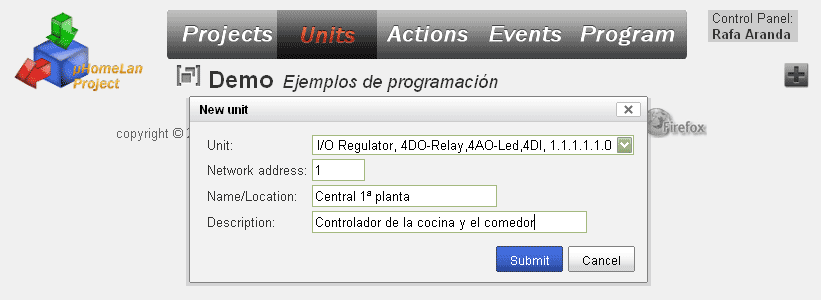
Add home automation power needed to project
Define the elements of input / output plant
After adding central to the project shows the inputs and output is central.
Departures:
- AOx. Analog Outputs (Analog Output). Gifted power switched to LED diodes that let you control the lighting from 0 to 100%.
- AOALL. Refers to the analog outputs.
- DOx. Digital Outputs (Digital Outputs), in the case of this plant up to 10A at 220V relays.
- DOALL. All digital outputs.
Tickets:
- DIx. Digital Input (Digital Input) digital input lines where you can connect a sensor, switch, button etc.
In this step you have to define the elements connected to the inputs and outputs. Clicking the Edit icon outputs shows the following dialog box which states:
- Name / Reference. Name or reference of the output, or the item online.
- Description. Describing the output or item.
The descriptions listed in these sections do not affect the program, only identify each of the inputs / outputs of the project and related wiring.
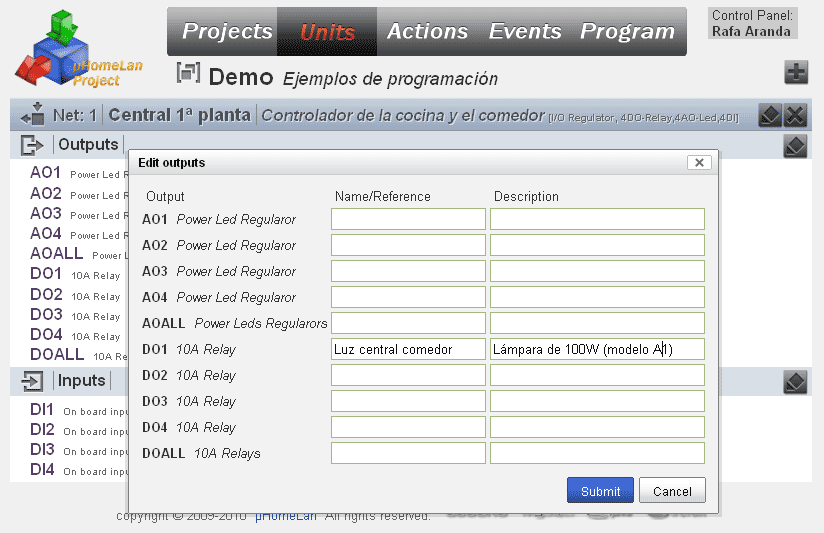
Edit the output of the plant automation
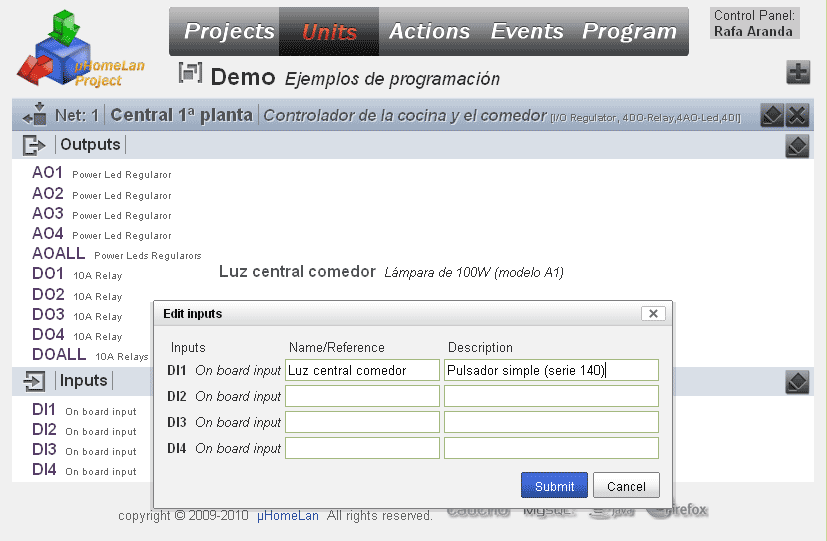
Edit the entries in the home automation


